Introduction — direct answer
LiteSpeed Cache for WordPress (LSCWP) is an acceleration plugin that combines full‑page caching (server‑side caching when the server supports LSCache) with a range of front‑end optimizations (minification, lazy‑load, Critical CSS, image optimization, etc.). If your hosting runs OpenLiteSpeed or LiteSpeed Enterprise (or if you enable the QUIC.cloud service), you get a very efficient server‑side cache. On an Apache or Nginx server without LSCache, the plugin keeps the optimization features but server‑side full‑page caching won’t be available.
Before you begin — prerequisites
- WordPress administrator access (/wp-admin) to install and configure the plugin.
- Access to cPanel if you prefer to install via the hosting provider’s interface (WP Toolkit) or to work directly on the files.
- Full backup (files + database). If you use JetBackup, follow our guide: JetBackup 5: backup and restore.
- Disable any other full‑page cache plugin (WP Super Cache, WP Rocket, etc.) before activating LSCWP — keep only one full‑page caching mechanism.
- If you plan to use Object Cache (Redis), request that the PHP Redis extension be installed on the server (requires WHM/admin access or support intervention).
Step 1 — Check the environment (cPanel)
Before installation, check whether your host provides any of the following:
- A cPanel extension identified as “LiteSpeed Web Cache Manager” (lets you enable LSCache on detected WordPress installations).
- WP Toolkit (WordPress manager in cPanel) — useful for installing/activating plugins from the control panel.
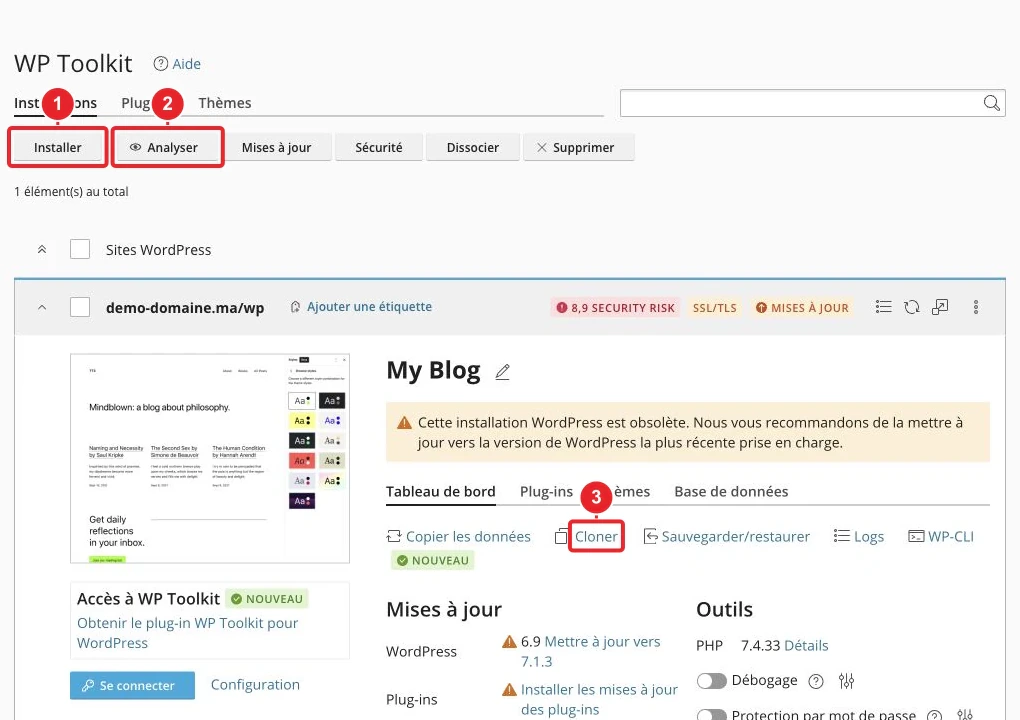
If you don’t see a LiteSpeed control or you’re unsure about the server configuration, contact your hosting support — enabling server‑side LSCache requires server administrator rights.
Step 2 — Install the LiteSpeed Cache plugin
Two common methods: from within WordPress (recommended if you manage the site) or via the hosting provider’s management interface (WP Toolkit in cPanel).
Option A — Install from WordPress (recommended)
- Log in to your WordPress dashboard (https://your-site/wp-admin).
- Go to Plugins → Add New and search for “LiteSpeed Cache” (author: LiteSpeed Technologies).
- Click Install then Activate.
- After activation, the menu LiteSpeed Cache appears in the WordPress admin.
Plugin page on the official plugin directory: LiteSpeed Cache — WordPress.org.
Option B — Install via WP Toolkit (cPanel)
- Open cPanel and launch WP Toolkit (if your host provides it).
- Locate the target WordPress instance and use the interface to manage plugins: search for and install "LiteSpeed Cache", then activate it.
Step 3 — Recommended initial settings (quick setup)
After activation, proceed in stages, testing after each change:
- Open LiteSpeed Cache → Toolbox and use Purge All to verify that manual purging works.
- In LiteSpeed Cache → Cache :
- Enable Page Cache Enable Page Cache only if your server supports LSCache (or if you have configured QUIC.cloud); otherwise leave the optimization settings enabled without a server-side Page Cache.
- Check the auto‑purge rules (avoid purging all pages too frequently).
- In Page Optimization : progressively enable Minify (HTML/CSS/JS), Combine (merge), Defer JS, and Lazy‑load images. Test the rendering after each option, as combining these settings can break some themes or scripts. Generate Critical CSS only if the rendering is correct.
- If you want an Object Cache (to reduce DB queries):
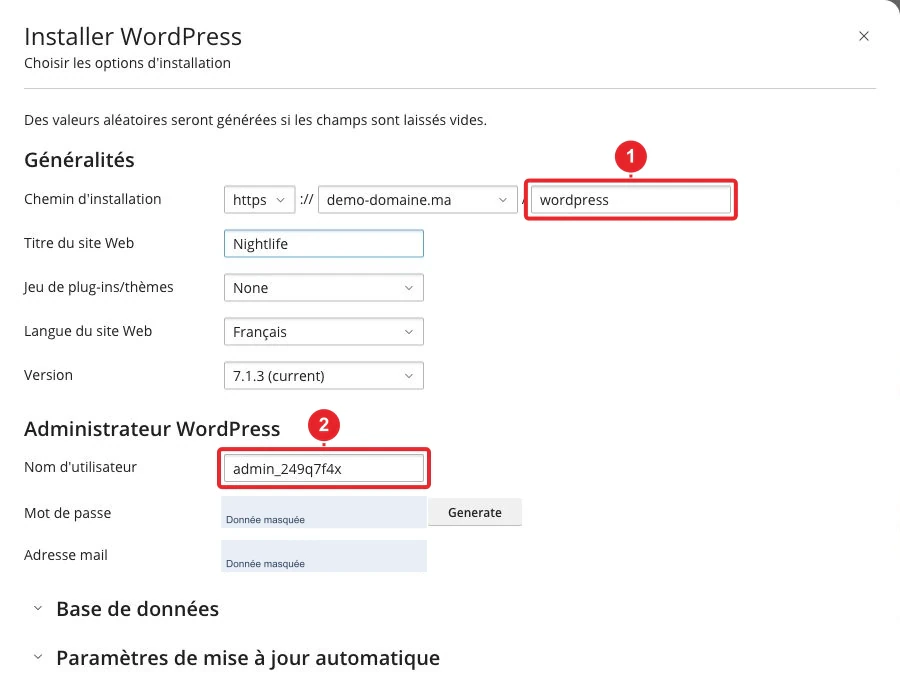
- Request that the PHP Redis extension be installed on the server (PECL Redis), or check in "PHP Selector" whether Redis is available.
- Then enable the Redis method in LiteSpeed Cache → Cache → Object and enter the parameters provided by your host (socket/port if necessary).
Step 4 — Useful commands and tools
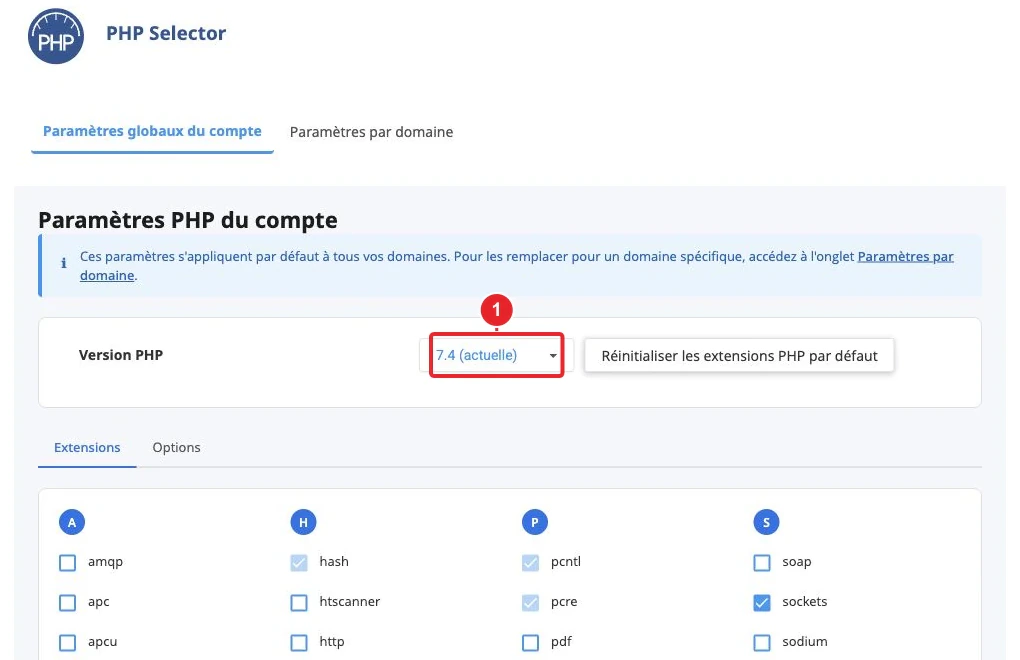
- WP‑CLI (if installed): there is a command to purge the cache via the plugin, for example: wp litespeed-purge all
wp litespeed-purge all. This type of command requires that wp‑cli be available and that you have appropriate SSH access. be available and that you have appropriate SSH access. - In the browser: check the HTTP headers (Network tab of Developer Tools). A server-cached response often shows a LiteSpeed-related header (e.g. X-LiteSpeed-Cache
X‑LiteSpeed‑Cache) — useful for checking whether LSCache is serving the page. - If you manage files from cPanel: the plugins folder is located in
wp‑content/pluginsIf the WordPress admin becomes inaccessible after an optimization, rename the plugin folder to temporarily disable the plugin.
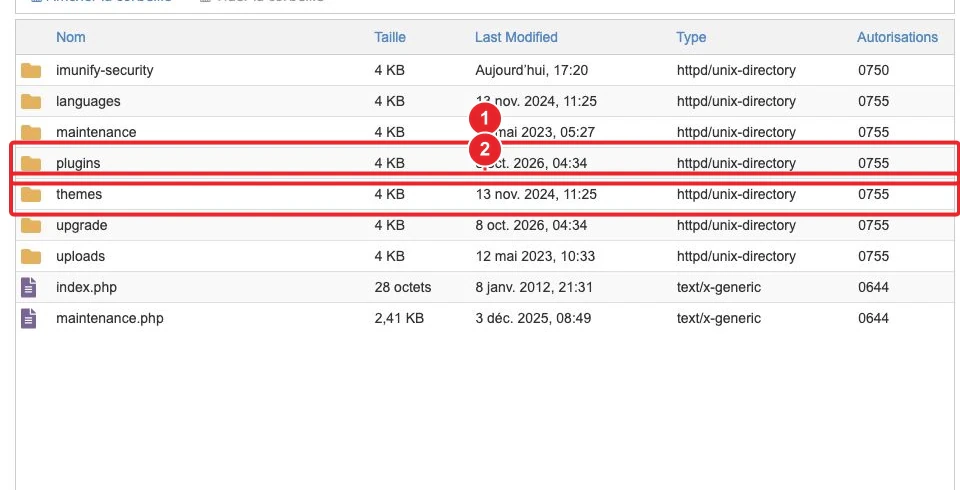
wp-content/plugins in the cPanel File Manager to take action on a plugin if necessary.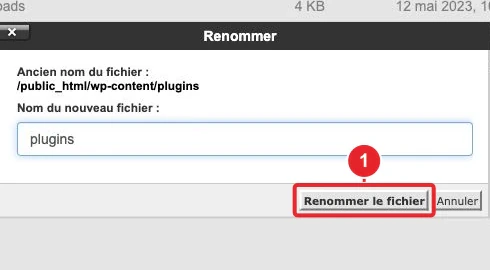
litespeed-cache) disables the plugin without affecting the database.Common troubleshooting
Cache not populating / pages remain dynamic
- Check whether your server supports LSCache or if QUIC.cloud is configured: without server-side LSCache, the plugin cannot place a full-page cache (front-end optimizations will continue to work).
- Check the auto-purge rules: purging too frequently prevents the cache from retaining pages.
- Use the browser's network tools to look for the X-LiteSpeed-Cache header
X‑LiteSpeed‑Cache(hit/miss) — if this header is absent, the page is not served by LSCache on the server side.
Conflicts after activation (broken JavaScript, missing styles)
- Temporarily disable the options combine/minify/defer and purge the cache; re-enable them one by one to identify the cause.
- If the WordPress admin becomes inaccessible, rename the folder
wp-content/plugins/litespeed-cacheusing the cPanel File Manager to disable the plugin.
Object cache (Redis) not enabled or errors
- Ensure the PHP Redis extension is installed on the server (PECL Redis). On shared hosting, you will need to ask support to install it if you do not have WHM/root access.
- After installation, configure the URL/socket/port in LiteSpeed Cache → Cache → Object according to the server's instructions.
Limitations and best practices
- The front-end optimizations (Minify, Lazy Load, Image Optimization, Combine) work on any server type; the server-side full-page cache (LSCache) requires OpenLiteSpeed / LiteSpeed Enterprise or the use of QUIC.cloud.
- Do not enable multiple full-page cache plugins simultaneously. Disable or remove other cache plugins before using LSCWP.
- Test optimizations on a staging site if possible. Always purge the cache after each change and check the rendering on multiple pages (homepage, post, product page, private area if applicable).
- For features that require server access (installing Redis, enabling LSWS), contact support if you do not have WHM/root access.
Useful resources
- WordPress Toolkit — cPanel guide (install, manage and back up your WordPress sites from cPanel).
- Install WordPress with Softaculous (if you install WordPress before adding LSCWP).
- Official LiteSpeed Cache plugin page (details of the options and changelog).
If you want us to check whether your hosting package includes LiteSpeed or to enable Redis (server-side intervention required), open a ticket from your client area attaching the site URL and a screenshot of the 'LiteSpeed Cache' panel in WordPress (if already installed).
Final technical check: the labels and functions described here correspond to the current interface of the LiteSpeed Cache plugin and the cPanel tools (WP Toolkit). Operations that require server administration privileges (installation of PHP extensions, activation of LiteSpeed on the server side) must be performed by the hosting provider.
Reference documentation
- LiteSpeed Cache – WordPress plugin | WordPress.org
- What is WP Toolkit? – cPanel
Documentation checked on 16 October 2026. Tools may vary depending on your hosting.