A custom domain can be connected to Google Sites when the account configuration and site publication settings allow it.
Prepare the site and domain
Check domain ownership, site publication and access permissions, and your ability to edit the DNS zone.
Add the domain in Google Sites
- Open the custom-domain option in site settings when available.
- Enter the desired address.
- Complete Google’s ownership verification using the token provided for your account.
- Note the DNS record supplied for connecting the address to the site.
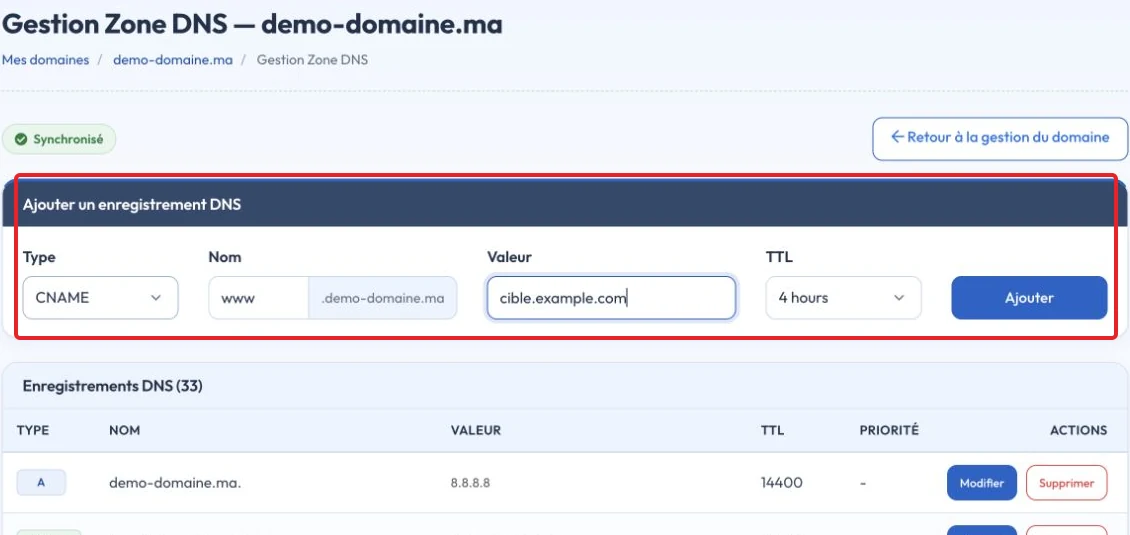
Update the authoritative DNS zone
Add the records at the provider hosting authoritative DNS. Preserve email records and unrelated entries. TXT ownership verification and the site’s DNS connection are separate steps.
Check access
Open the domain in a private browser window without signing in to Google. Check the expected pages and HTTPS. If Google sign-in is still required, review sharing and publication rules before changing DNS again.
Interface illustrations
These screenshots show the versions used when the original article was written. Labels may differ in your current version; follow the written procedure and your account settings.




Related guides
Reference documentation:
Sources accessed on October 11, 2026. Available features depend on your hosting version and options.