Table of Contents
1.When and Why to use IP Blocker :
When you detect malicious visitors (brute-force attempts, spam bots, resource abuse, or suspicious scanning activity), blocking an IP address can be helpful.
Unless you use a server-level technique, blocking an IP usually stops access to your website (returning a “403 Forbidden” message), but it doesn’t always prevent access to other services like email or FTP.
2. Blocking an IP with cPanel
Who this is for: cPanel users without root or WHM access.
-
Log in to cPanel.
-
Find IP Blocker
Go to the Security section then click IP Blocker.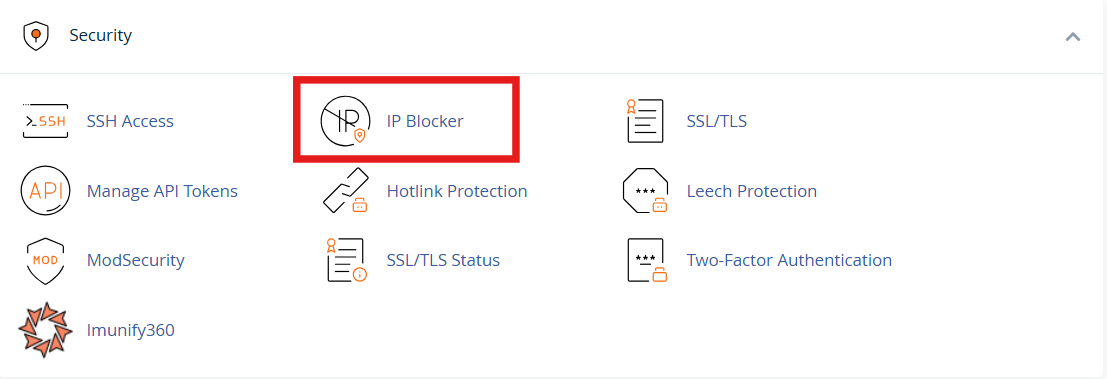
-
Enter the IP or Range to Block.
-
In the field labeled “Add an IP or Range”, type the IP you want to block (e.g., 192.168.0.1).
-

-
-
-
Accepted formats:
-
Single IP: 203.0.113.45
-
Range: 203.0.113.1-203.0.113.255
-
CIDR block: 203.0.113.0/24
-
-
Click Add
-
-
The IP address will appear under Currently-Blocked IP Addresses

3.Removing or Unblocking an IP
-
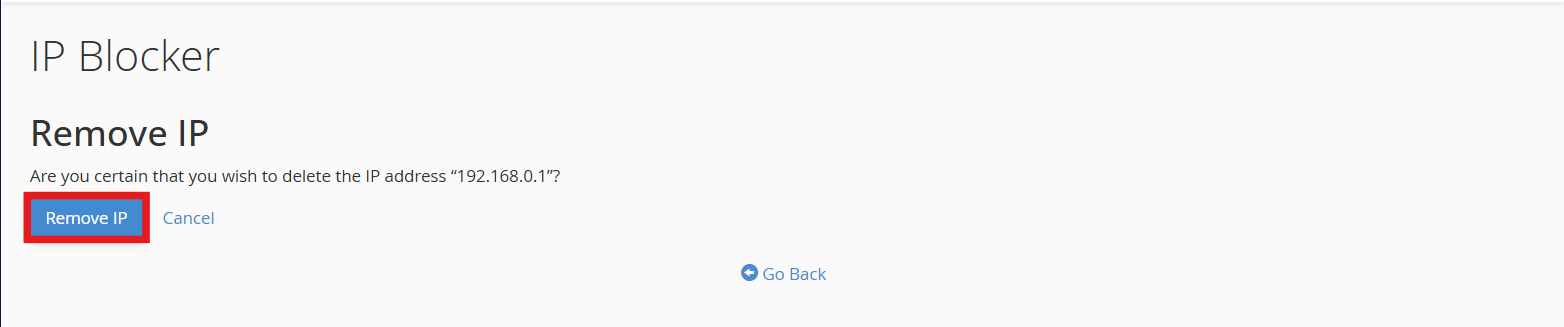
Return to IP Blocker in cPanel.
-
Find the IP in the Currently Blocked list.
-
Click Delete, Remove, or the trash icon beside it.

-
Confirm the removal.
4. Advanced Alternatives
Blocking via .htaccess
Recommended for experienced users or when you want site-specific control.
Example for older Apache versions:
Example for Apache 2.4 and newer:
Tips:
-
Always back up your .htaccess before editing.
-
Place the rules near the top of the file.
-
A syntax error can break your site, proceed carefully.
-
Use File Manager or FTP to edit safely.
Server-Level Blocking (WHM)
If you have WHM access (VPS or dedicated server), you can block IPs globally using Host Access Control.
This prevents access to all cPanel services, including SSH, FTP, and email, not just the website.
This is a stronger, system-wide block.
Using a Firewall or Security Layer
If your website is being attacked, manually blocking IPs in cPanel can be slow and inefficient. Advanced tools like firewalls and security software can automatically detect and block malicious traffic for you.
Here are the main options:
CSF (ConfigServer Security & Firewall)
- What it is: A server-installed security tool.
- What it does: It keeps track of frequently unsuccessful login attempts (for SSH, cPanel, etc.) and automatically blocks those IPs.
- Who uses it: Owners of VPS or dedicated servers with root access are usually the ones who use it.
- Benefit: Protects your server from hackers trying to guess passwords.
Fail2Ban
- What it is: An additional server-level security tool that keeps an eye out for recurring login errors.
- What it does: Automatically bans IPs (SSH, FTP, email, etc.) that attempt to log in repeatedly and fail.
- Who uses it: VPS or dedicated server administrators are the users.
- Benefit: Prevents brute-forcing server services by attackers.
WAF (Web Application Firewall)
-
What it is: A firewall that works specifically at the website level (HTTP/HTTPS).
-
Examples: Cloudflare Firewall, Sucuri, ModSecurity (often included in cPanel hosting).
-
What it does:
-
Blocks malicious requests before they reach your site.
-
Can block IPs, countries, suspicious bots, or attack patterns automatically.
-
Protects against threats like spam, hacking attempts, or DDoS attacks.
-
-
Who uses it: Any website owner, works even on shared hosting if supported by the host or via a service like Cloudflare.
Note:
CSF and Fail2Ban require server-level access (root), while WAFs can be added as a third-party service. These tools complement the cPanel IP Blocker by automatically handling repeated or widespread attacks.
5. Best Practices & Safety Tips
-
Identify the right IP:
Some visitors use proxies or CDNs (like Cloudflare). Check X-Forwarded-For headers to find real IPs. -
Avoid blocking large ranges:
You might block legitimate users. Only use ranges when truly necessary. -
Use the right tool for the job:
For minor issues : use IP Blocker.
For attacks : use firewall-level protection.
6. Testing Your IP Block
After blocking, test if it’s effective:
-
Access your site from the blocked IP (or ask someone with that IP).
-
You should see a 403 Forbidden or a blank/denied page.
-
Use a VPN to simulate the blocked IP if needed.