Table of Contents
What is Sitejet AI Website Generator?
Sitejet AI is a new smart website builder integrated with cPanel. It’s made to create professional websites quickly and easily. Users are not required to have coding skills and this is all thanks to AI (powered by ChatGPT). Full-page content can be created with a blink of an eye, suiting your business or personal needs.
Whether you’re creating a personal blog, a portfolio, or a small business website, Sitejet AI offers all the tools you need to launch a beautiful and functional website, all from your hosting dashboard.
Accessing the Sitejet Builder in cPanel
To get started, log in to your cPanel account
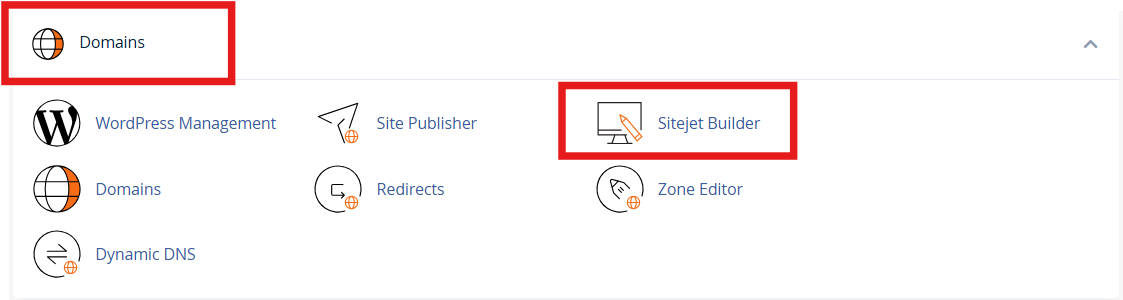
Once inside cPanel, scroll down to find the Domains section, and then click on Sitejet Builder.
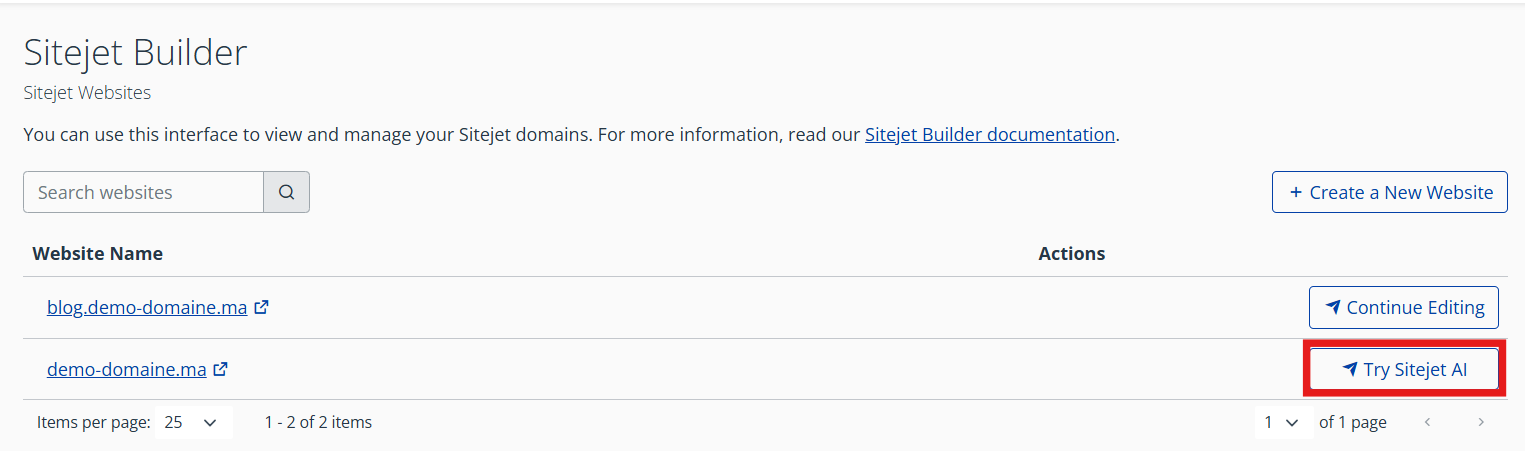
Here, you’ll see a list of your domains and subdomains. Each one can have its own separate website built with Sitejet. Next to the domain where you want to build your site, click on the Try Sitejet AI button.
Choosing a Template
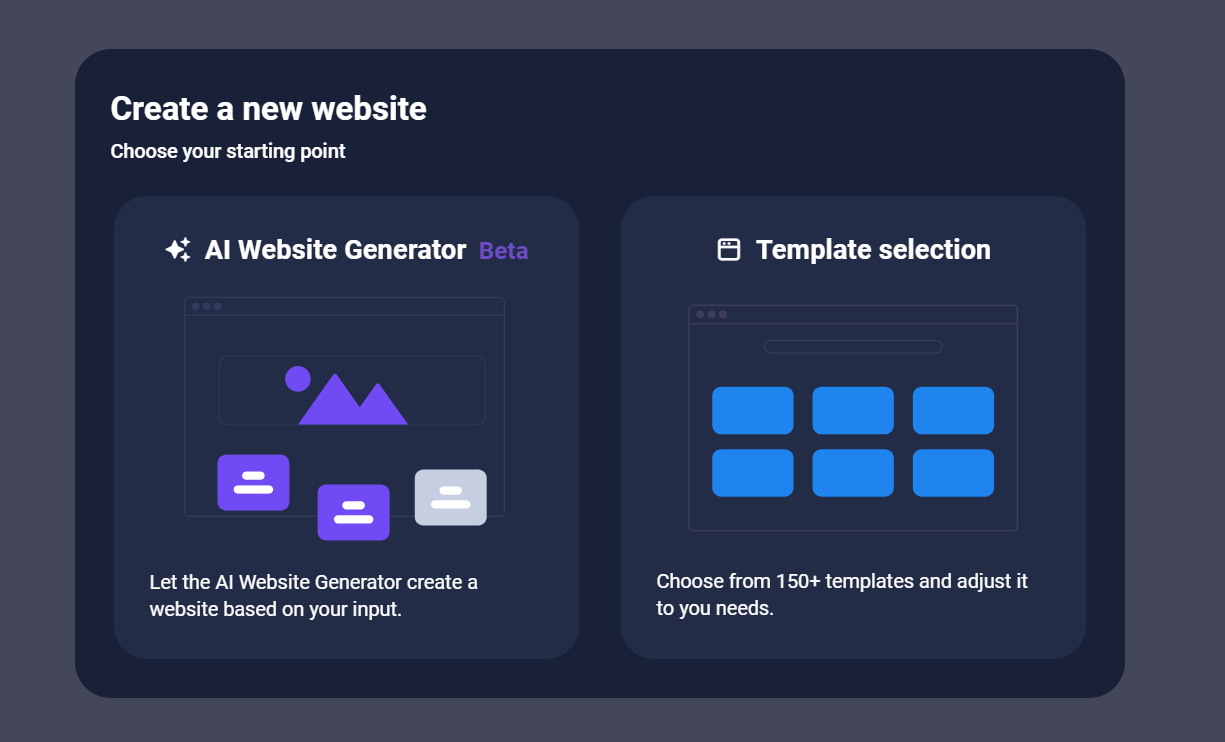
Once the builder opens, you’ll be presented with two options: you can either let the AI build a site for you based on a few questions, or you can choose a template manually from a library of pre-designed layouts. The templates are organized by industry; like restaurants, fitness, photography, consulting, and more; and you can preview each one before making a selection.
If you prefer more control, the manual template route lets you customize everything from images and colors to fonts, layout, and text. There’s even an option to start from a blank canvas if you want to build your site from scratch.
For the purposes of this guide, we’ll continue with the AI-powered website creation, which offers the fastest and easiest way to get your site up and running.
Generating Your Website with AI
Sitejet’s AI will ask a few questions to understand what kind of website you want.
You can provide your industry
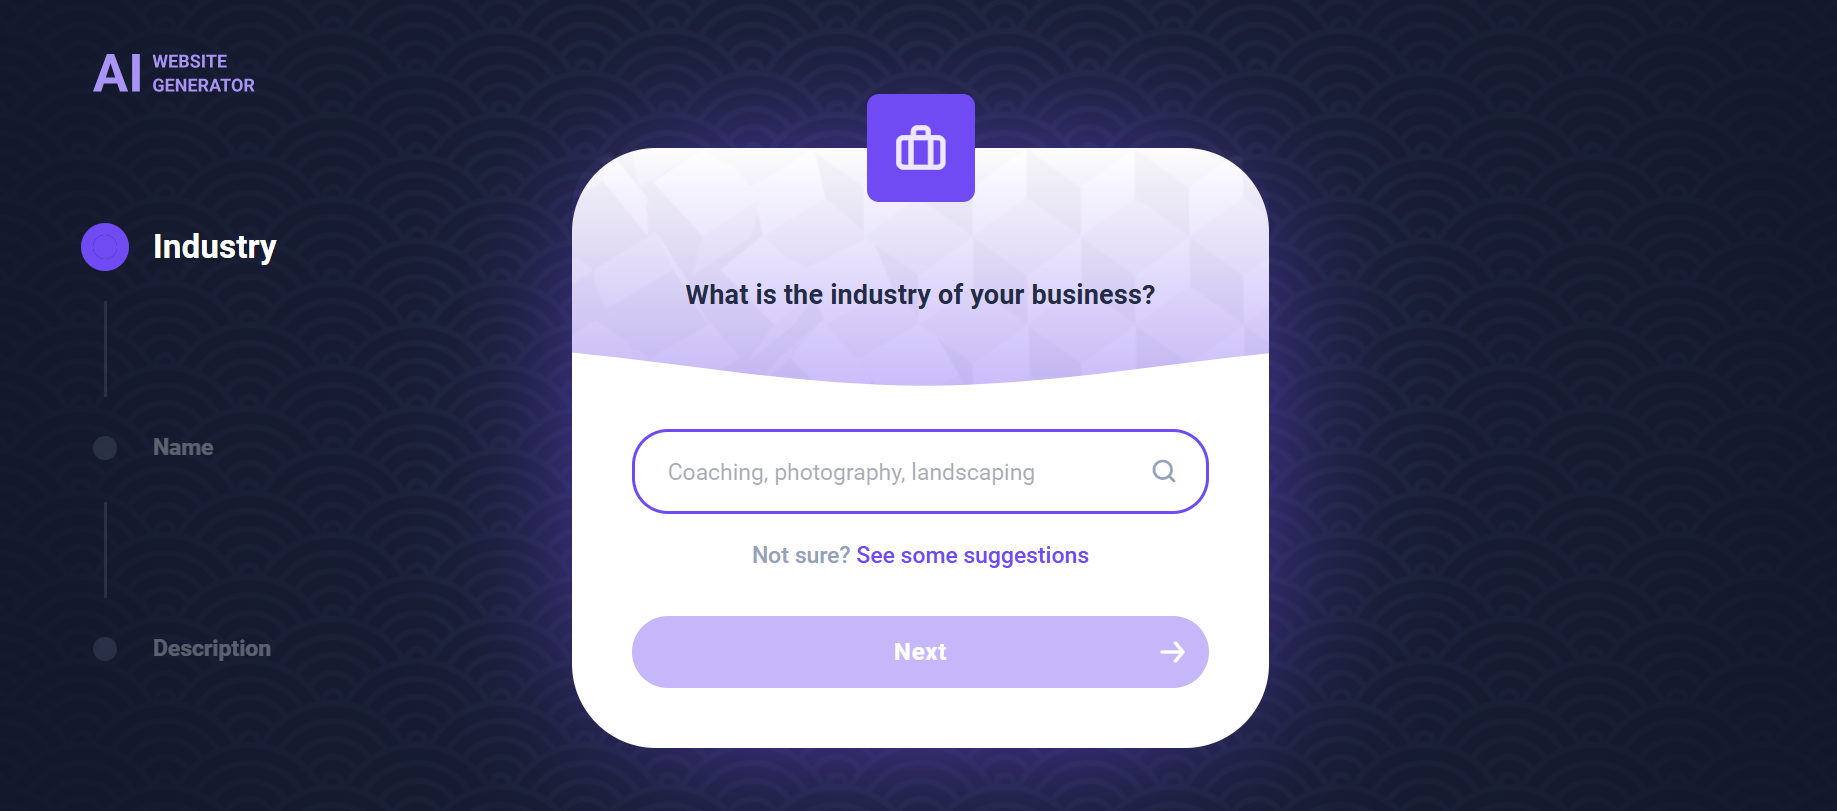
your business name
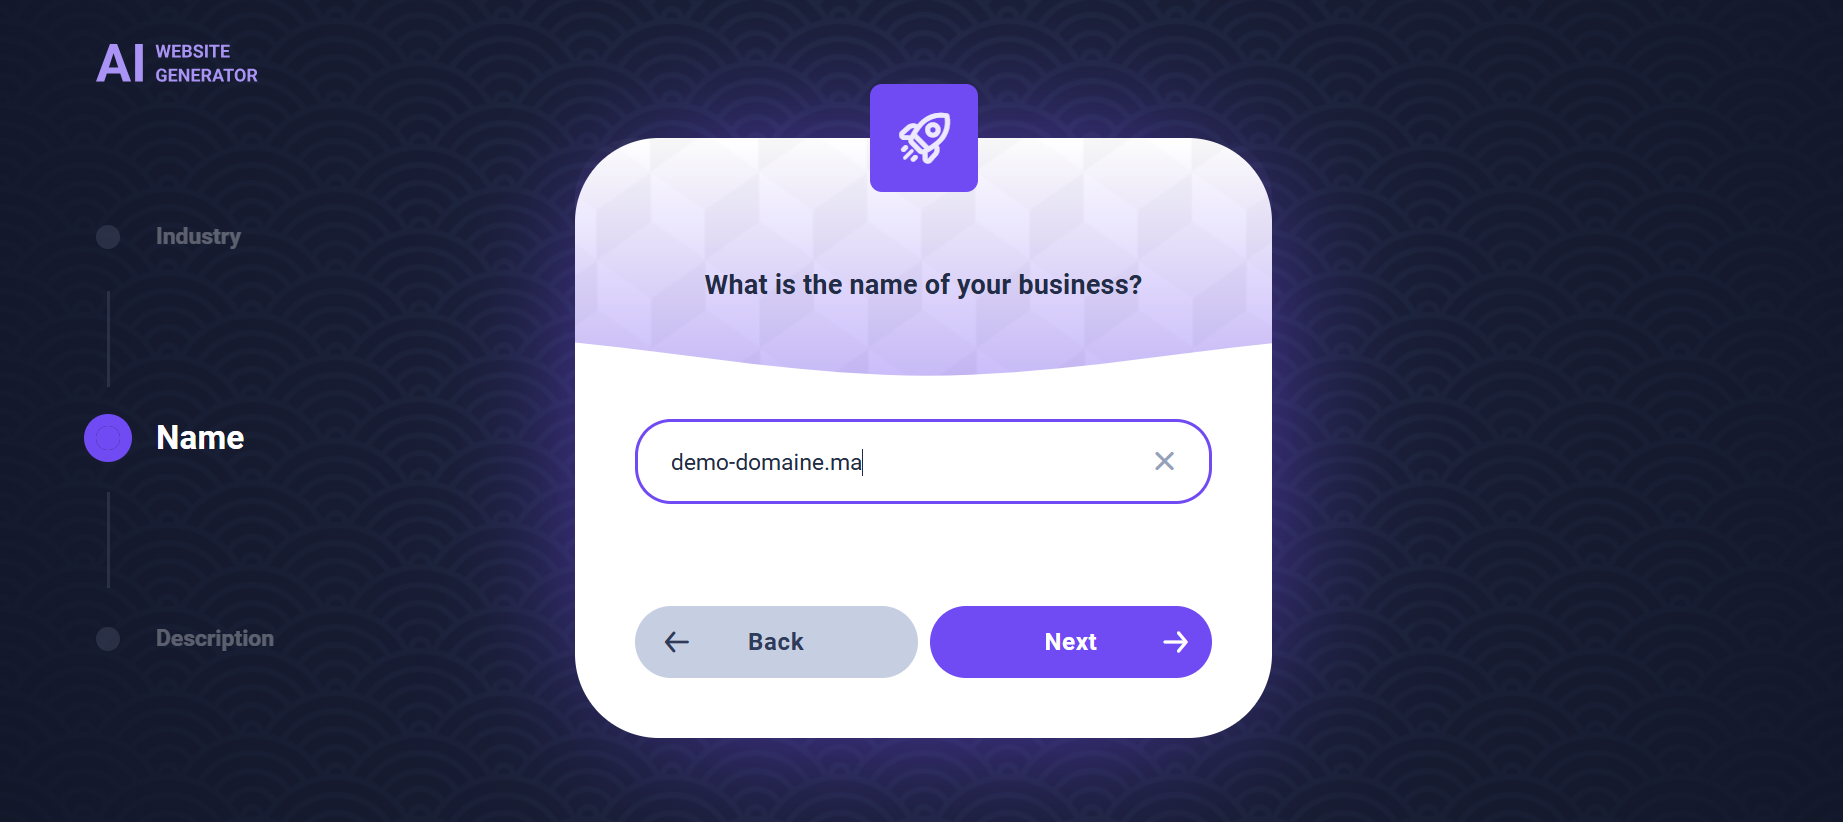
a short description of what you do, and your preferred tone of voice.
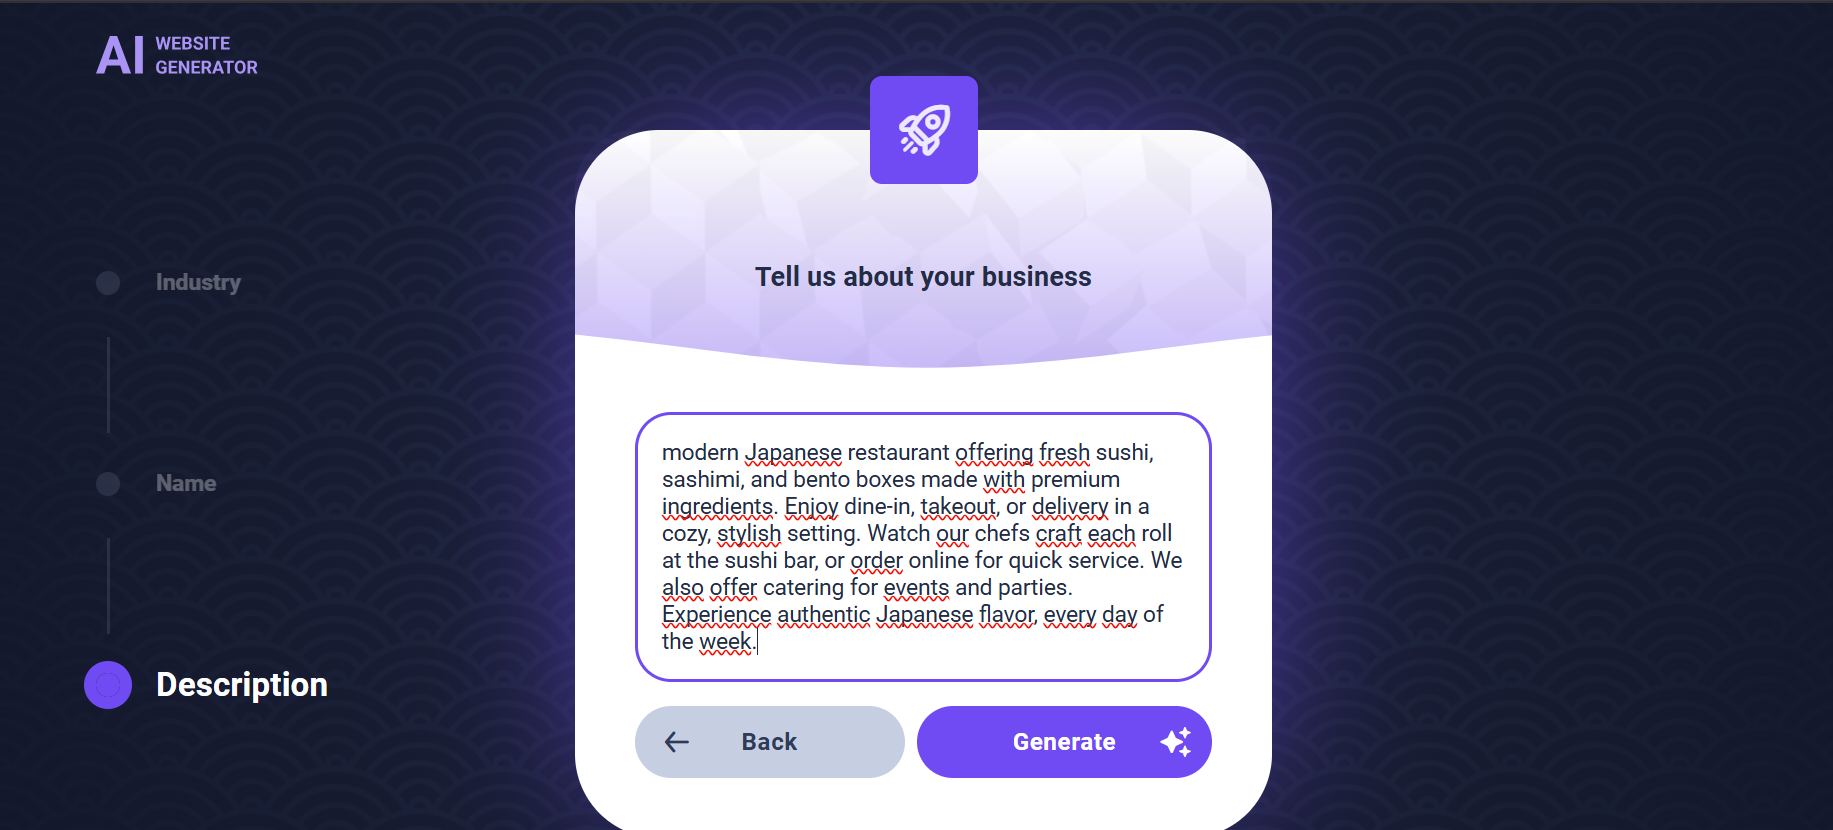
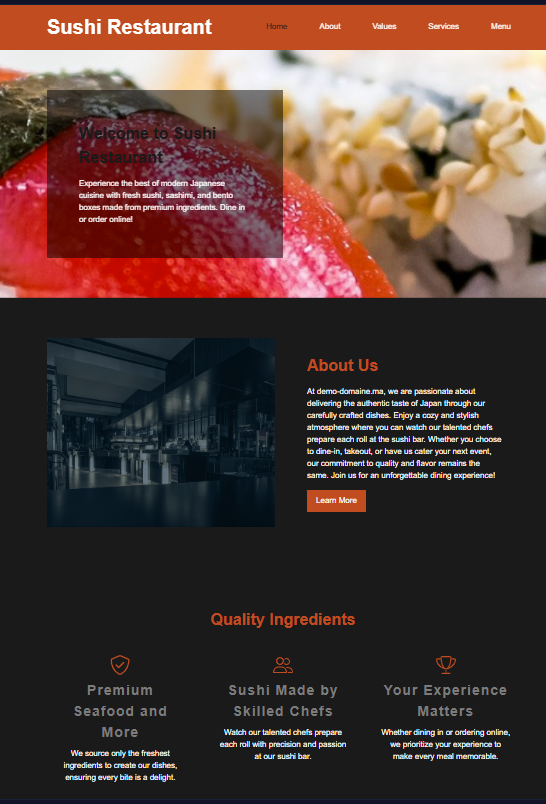
Based on this input, the AI will automatically generate text for your website, including a homepage, about section, services, and more.
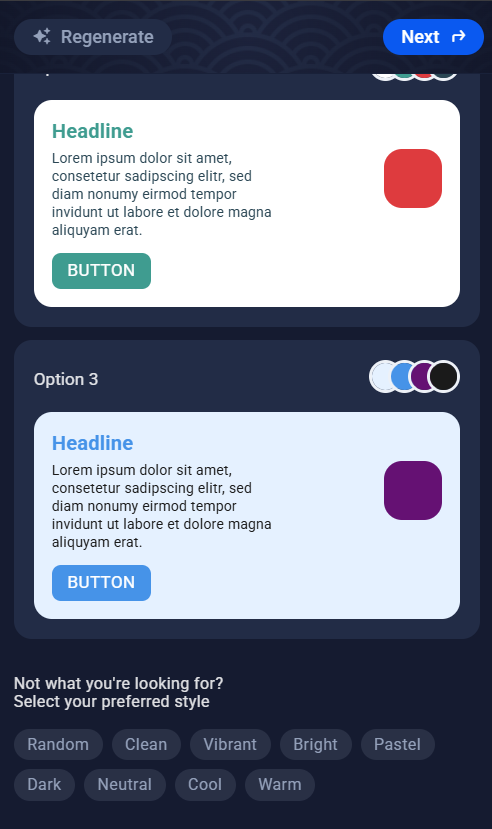
Once the AI finishes creating your content and layout, you’ll be asked to customize your site’s appearance before entering the full editor.
This includes selecting your color scheme
typography
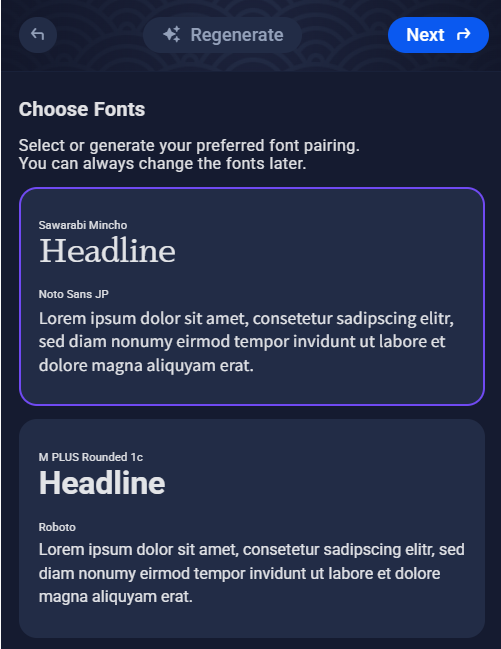
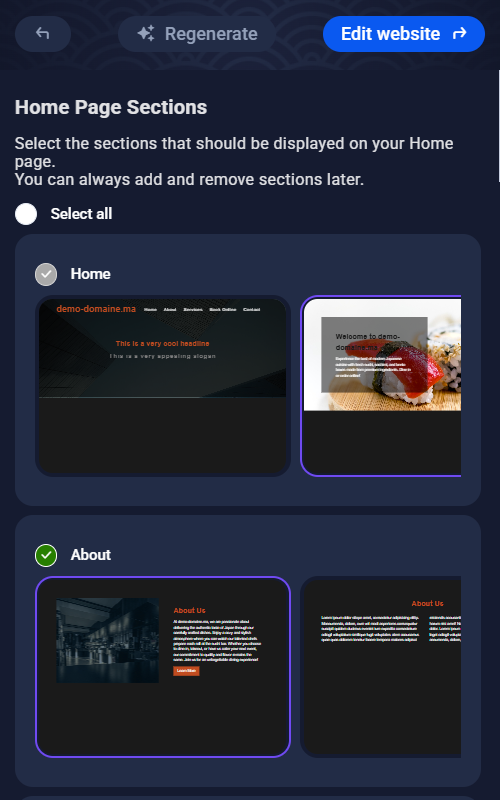
and deciding which sections (like hero banner, about section, services, contact form, etc.) should be visible on the homepage. These settings help shape the initial look and structure of your website.
You can accept the generated content as-is or edit it freely. You can also regenerate text for any section or manually write your own content.
Customizing Your Website
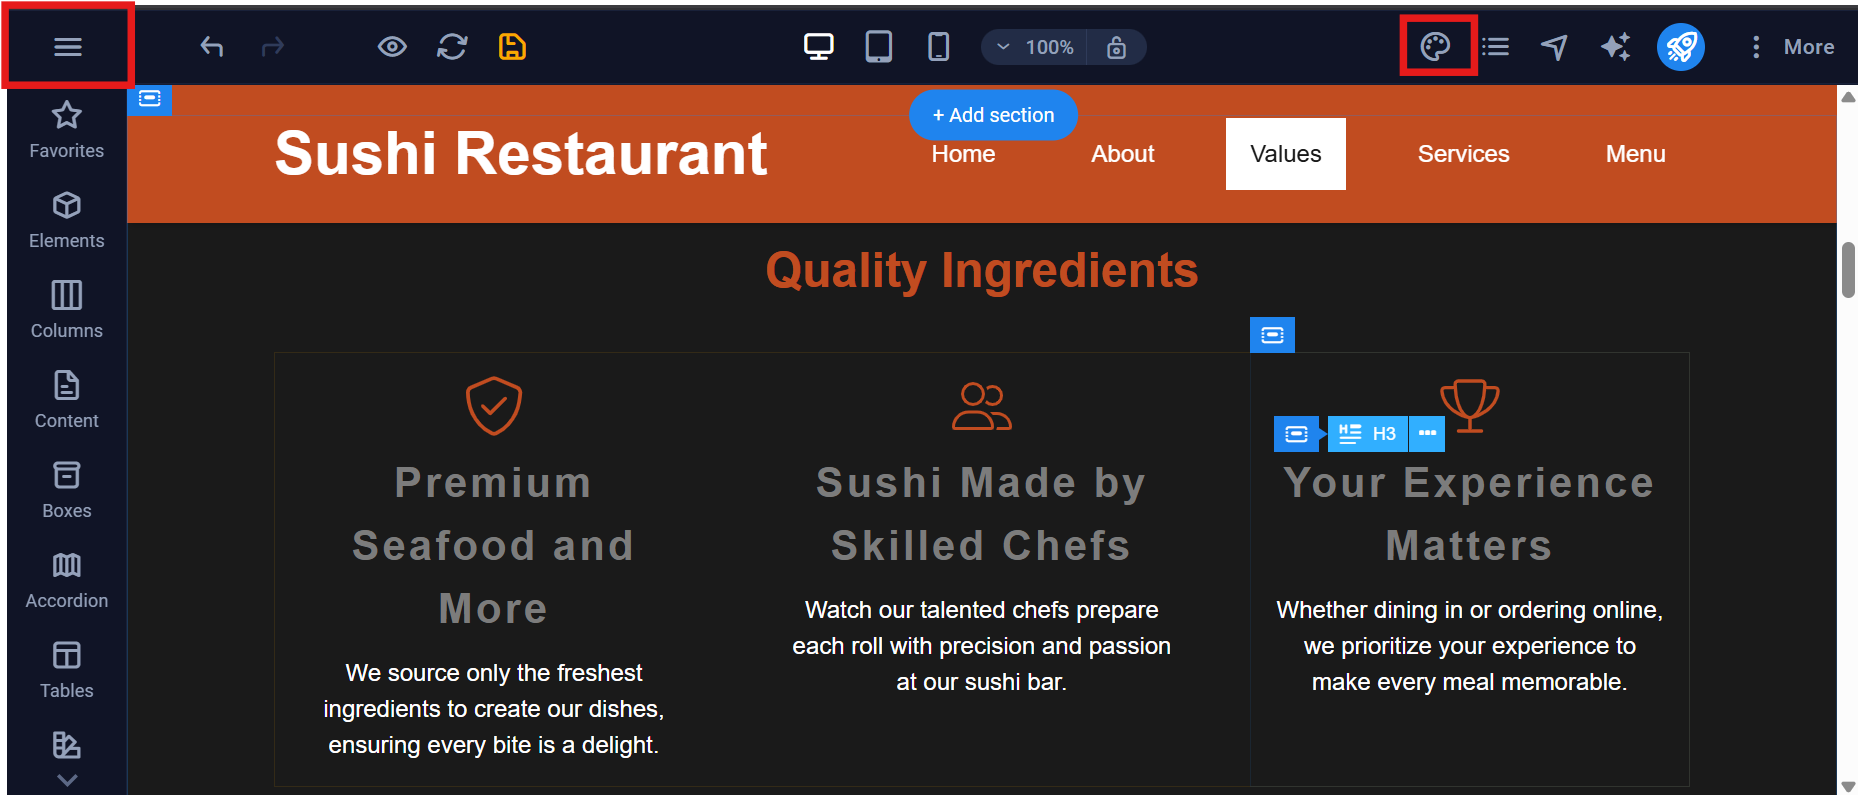
The editor works just like a modern website builder. On the left, you’ll find a toolbar with all the elements you can add: text boxes, images, videos, buttons, galleries, maps, contact forms, and more.
To add something, just drag it onto the page. Once an element is placed, click on it to open customization options like colors, font size, spacing, and alignment. You can also move things around by dragging them into different areas of the layout.
At the top of the editor, there’s a Design panel where you can set global styles like font choices, primary colors, and button shapes. These global settings apply to your whole website, making it easy to keep a consistent design.
Managing Pages and Navigation
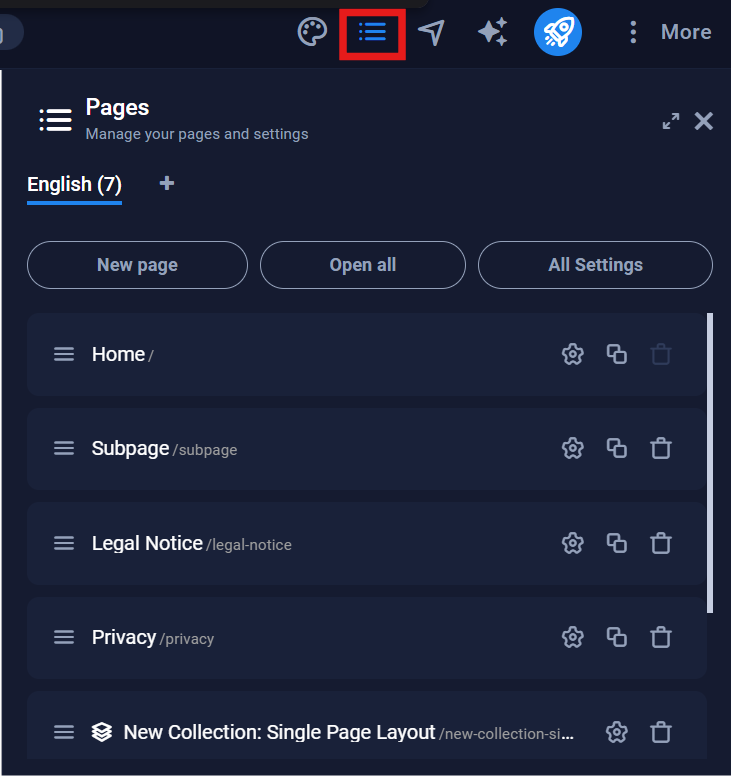
You can manage your site’s structure by opening the Pages section. Here, you can add new pages (like “Testimonials” or “Blog”), rename existing ones, and adjust SEO settings such as page titles and meta descriptions.
Your website menu is generated automatically based on the pages you create, but you can easily rearrange the order or hide certain pages from the navigation. This is especially useful for pages you’re still working on.
Site Settings and Extra Features
From the main menu, you can access your website settings. This is where you can upload your site logo and favicon, enter your business contact details, and enable features like cookie consent or a privacy policy banner.
Multilingual websites are also supported. You can enable language switching, translate content, and offer a localized experience for your visitors. There’s also a built-in file manager where you can upload images and other media files, or use free stock images provided by Sitejet.
Advanced users can even add custom code (HTML, CSS, or JavaScript) using the built-in code editor.
Previewing Your Website
Before publishing your site, you can preview it to see how it looks on different devices. Click the preview icon (the eye symbol) in the top bar, and choose from desktop, tablet, or mobile views.
You can also generate a temporary preview link to share your work-in-progress with others, even before the site goes live. This is helpful for getting feedback or approval.

Publishing Your Website
Once you’re satisfied with how your site looks, it’s time to publish. Click the Publish button, and you will be asked if you want to create a restore point. This is a backup of your current website content in case you ever need to roll back.

Publishing will instantly make your site live on the domain you selected. If your domain already had a website or files in place, those may be replaced , so it’s a good idea to back up any existing site files to avoid losing data. JetBackup in cPanel is the recommended way to create a full backup of your website, including files, databases, and emails.
JetBackup lets you create and restore snapshots easily with just a few clicks, ensuring you can revert your site to a previous state if needed.
You can also manually download your site files using the File Manager in cPanel as a fallback method. This manual backup involves saving your current website files to your computer before publishing the new content with Sitejet.
Automatic Backups and Restore Points
Sitejet automatically saves your work in the background every few minutes. It also creates hourly, daily, and weekly backups that you can restore at any time.
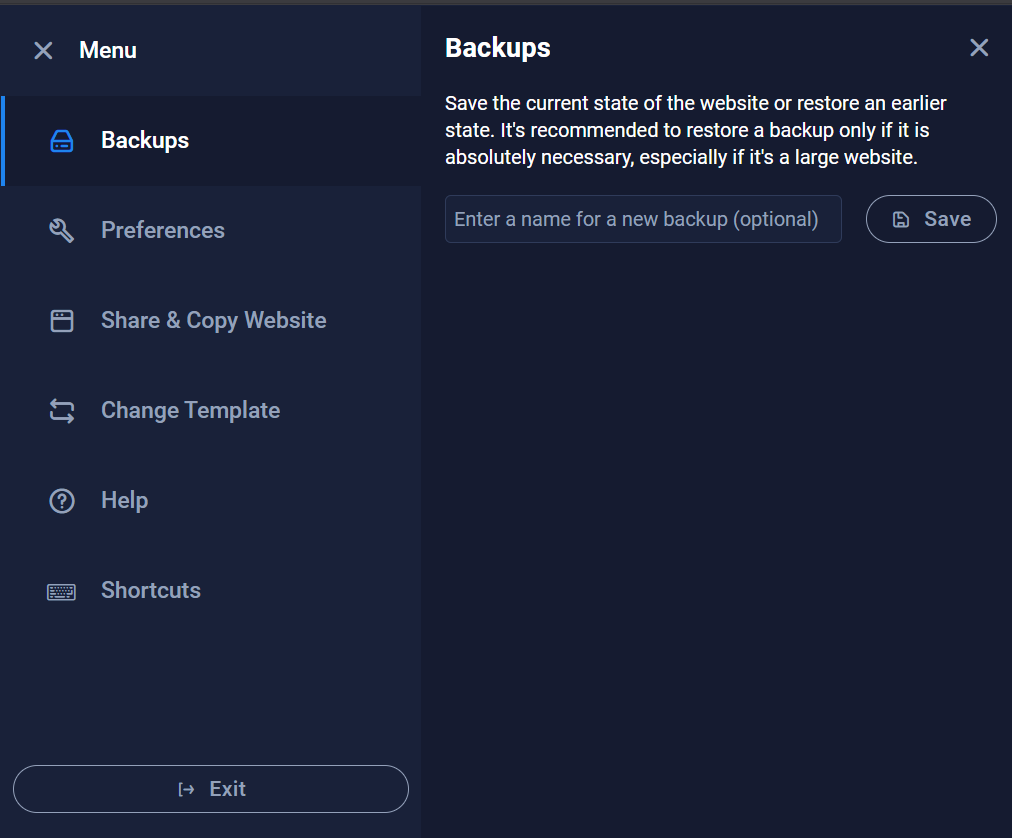
If you make a mistake or want to undo recent changes, Sitejet makes it easy to roll back to a previous version right from within the editor. Inside the Sitejet interface, open the menu and find the Backups option. There, you’ll see a list of automatically saved restore points created at different times, these snapshots include your site’s content and design. Simply select the version you want to revert to, and Sitejet will restore your website to that state instantly, letting you undo unwanted edits without leaving the builder.
Final Thoughts
Creating a website with Sitejet AI inside cPanel is simple, efficient, and flexible. You don’t need any technical experience to build something professional. The AI helps with content, the editor handles the design, and everything is hosted right where your domain lives.
You’re always in control: you can update your site anytime, undo mistakes using backups, and fine-tune every detail. Whether it’s a one-page portfolio or a full business site, Sitejet makes the process enjoyable and fast.