To link your domain name to the Email PRO service, DNS configuration is required. Please follow the steps below.
If you are using the default Cap Connect Nameservers, the DNS configuration for your Email PRO will be automatically set up after activating your order.
If not, you have two options to activate your Email PRO service:
Table of Contents
First Method: Changing the Nameservers
- Log in to your client area.
- Click on “Domains”.

- Click on “DNS Servers”.

- Add the Cap Connect DNS.
ns1.capconnect.com
ns2.capconnect.com
ns3.capconnect.com
ns4.capconnect.com
Second Method: Configuring the DNS Zone
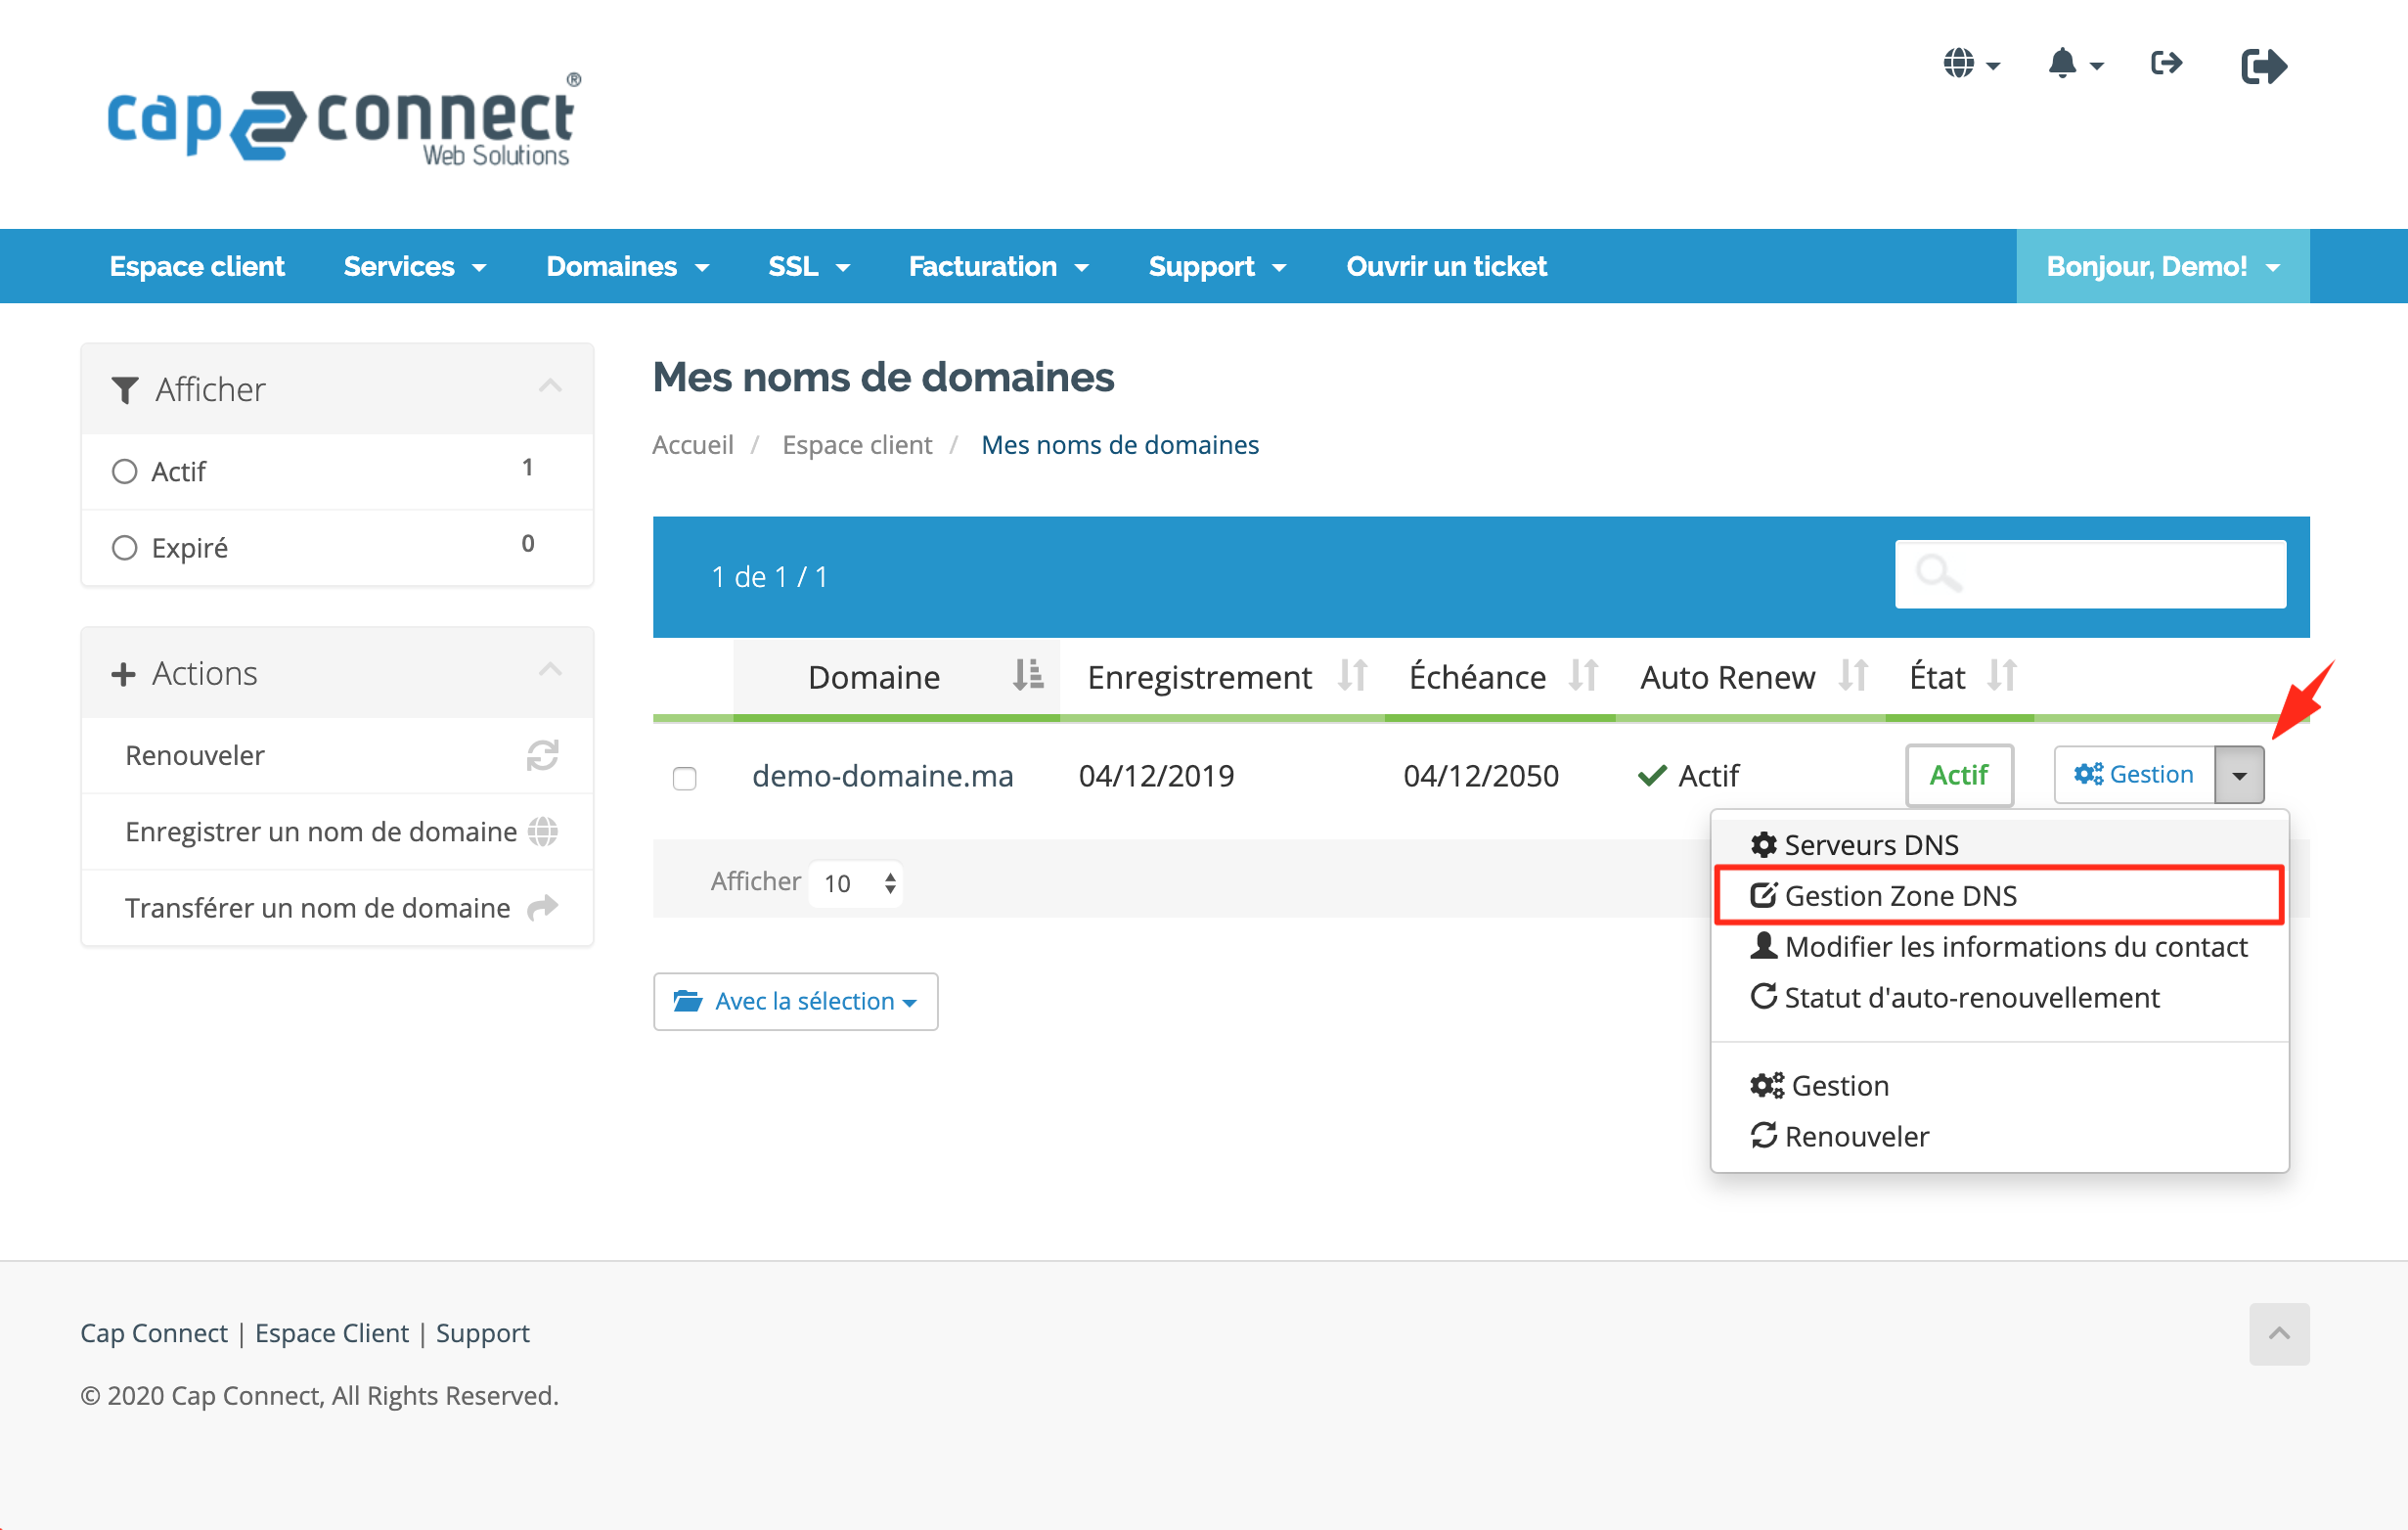
- Log in to your client area.
- Click on “Domains”.

- Click on “DNS Zone Management”.

- Enable the section allowing you to modify the MX and CNAME records of your domain.

- Delete all existing MX records.
- Add the following records corresponding to the Email PRO mail servers.
For MX:
@ MX 10 mx.yourdomain.com.hostedemail.ma
For CNAME:
mail CNAME mail.yourdomain.com.hostedemail.ma
webmail CNAME mail.yourdomain.com.hostedemail.ma

Note: Some domain hosts use different labels for value and name fields, while others add a period at the end of the server name.