User Manager is a tool in cPanel that lets you create and manage subaccounts. These subaccounts can be given access to specific services like email, FTP, and Web Disk. Each subaccount has its own login and password, so you don’t have to share your main cPanel login.
Table of Contents
How to Add a Subaccount to User Manager
1. Log in to cPanel
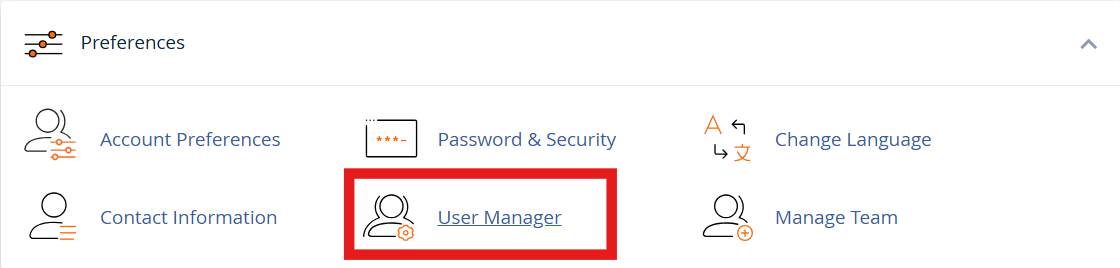
2. Open User Manager
Scroll to the Preferences section and click on User Manager.
3. Click “Add User”
This will let you create a new subaccount.

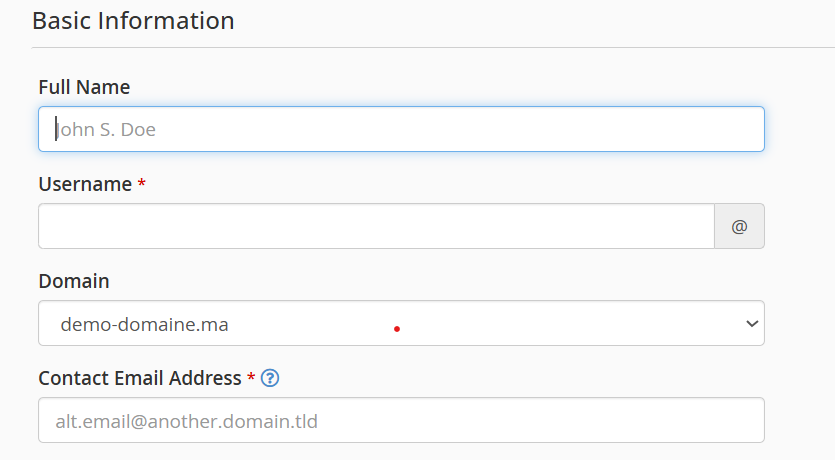
4. Enter Basic Information
-
- Full Name: Type the user’s full name.
- Username: Choose a username.
- Domain: If you have more than one domain, choose the right one.
- Contact Email: Enter the user’s email address for password recovery and notifications.
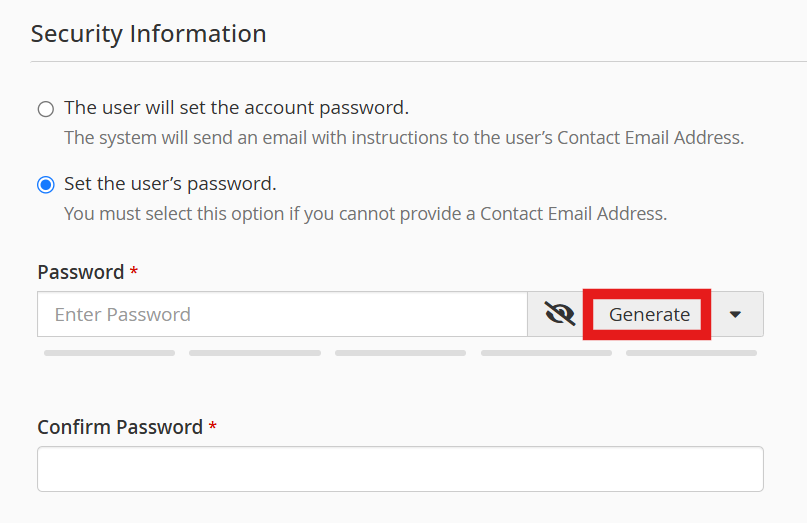
5. Set a Password
-
-
- You can let the user set their own password, or
- You can create a password yourself. (Use the password generator for strong passwords.)
-
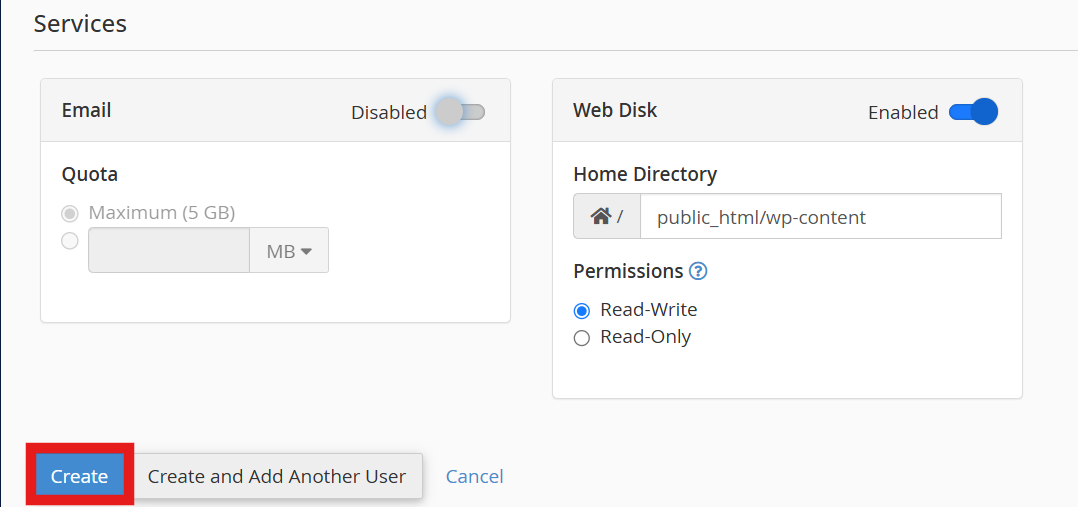
6. Choose Services to Allow
-
-
-
- Email: Give access to email and set the mailbox size.
- Web Disk: Allow access to website files, and set the access type (read-only or read/write).
-
-
Once everything is filled in, click to create the new user.
How to Manage Subaccounts
- Edit a Subaccount
In User Manager, find the user you want to change and click Edit. You can update names, passwords, or services.

- Delete a Subaccount
Find the user, click Delete, and confirm. This will remove the user and any data linked to that account, like emails. Be sure to back up anything important first.

How Subaccounts Log In
- Email: To access their email, users should go to
https://example.com:2096, whereexample.comis your domain name or server IP address. Then, they can log in using the subaccount’s username and password.
- Web Disk: Users can connect through their computer’s file manager or compatible software.
Note :
Subaccounts do not have access to the main cPanel dashboard. They only see the services you allowed.
By using User Manager, you can easily give limited access to others while keeping your main account safe and secure.