Updating your contact information in cPanel ensures you receive important notifications about your hosting account, such as disk space warnings, password changes, and SSL certificate expirations.
Here’s a straightforward guide to help you update your contact details and notification preferences in cPanel.
Table of Contents
Steps to Update Your Contact Information in cPanel
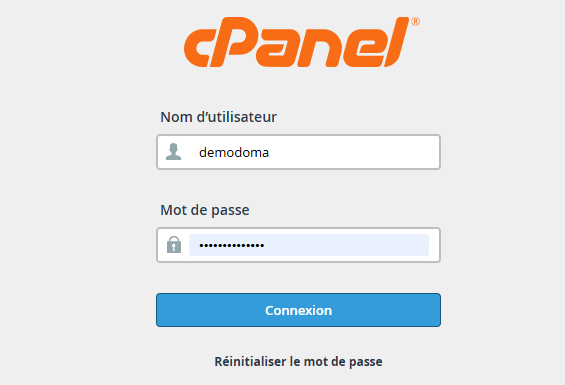
1. Log into cPanel
-
Access your cPanel account using your provided login credentials.
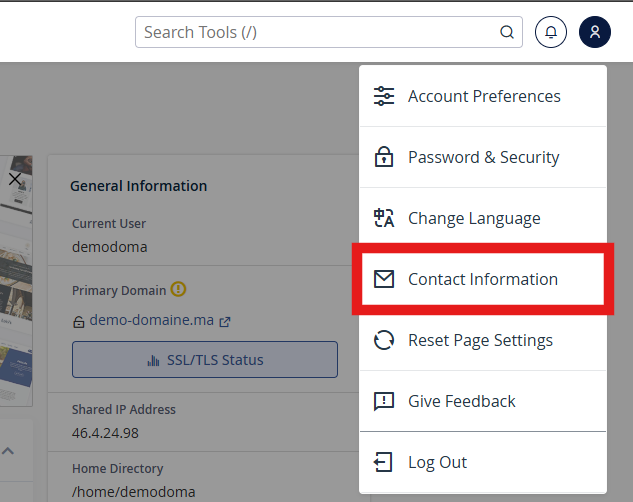
2. Navigate to Contact Information
-
In your Dashboard, click on the Profile Icon to display the options. Then choose Contact Information
3. Update Your Email Addresses
-
Primary Email Address: Enter a valid email address where you wish to receive notifications. It’s recommended to use an email not associated with your hosting domain to ensure delivery even if your domain is down.
-
Secondary Email Address (optional): Provide an alternate email for redundancy.
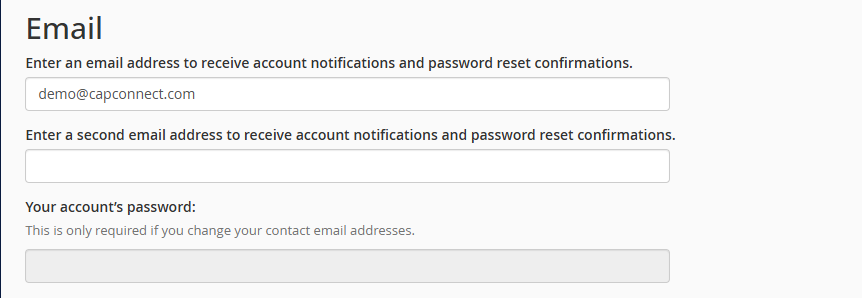
Make sure to enter your account’s password for the changes to be applied.
4. Set Notification Preferences
Choose the notifications you’d like to receive by checking the appropriate boxes
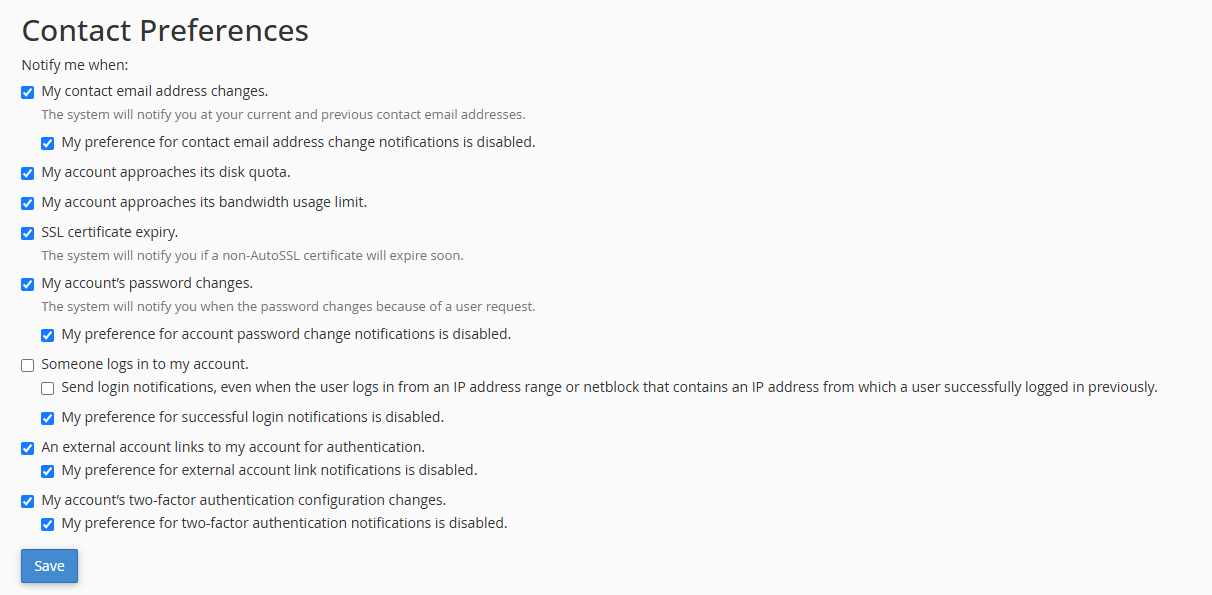
5. Save Changes
-
After making the necessary updates, click Save to apply the changes.
Additional Tips
-
Use Reliable Email Addresses: Avoid using email addresses associated with your hosting domain to prevent missing notifications if your domain experiences issues.
-
Regularly Review Preferences: Periodically check your notification settings to ensure they align with your current needs.
-
Understand Notification Implications: Being informed about disk space and bandwidth limits can help you take proactive measures to maintain your website’s performance.
By keeping your contact information up-to-date and configuring your notification preferences, you ensure that you’re promptly informed about critical aspects of your hosting account, allowing for timely interventions when necessary.